Quickstart
This walks through the desktop app, the quickest way to try Screenplay. By the end you’ll have a canvas with a live preview of your app and an agent change running in it.
Running a shared, multi-user deployment instead? Start with Self-hosting. Once you’re signed in, everything from step 3 on works the same way.
What you need
- A Mac with Apple silicon (M1 or later). Download Screenplay.dmg, the latest release. There’s no build for Intel Macs.
- A coding CLI such as Claude Code or Codex. Screenplay can install it for you during setup.
- A git repository with a dev server: a local clone, or one on GitHub. A
plain folder that isn’t a git checkout won’t work. If the repository has a
package.jsonwith adevscript, you’re set.
Run first-time setup
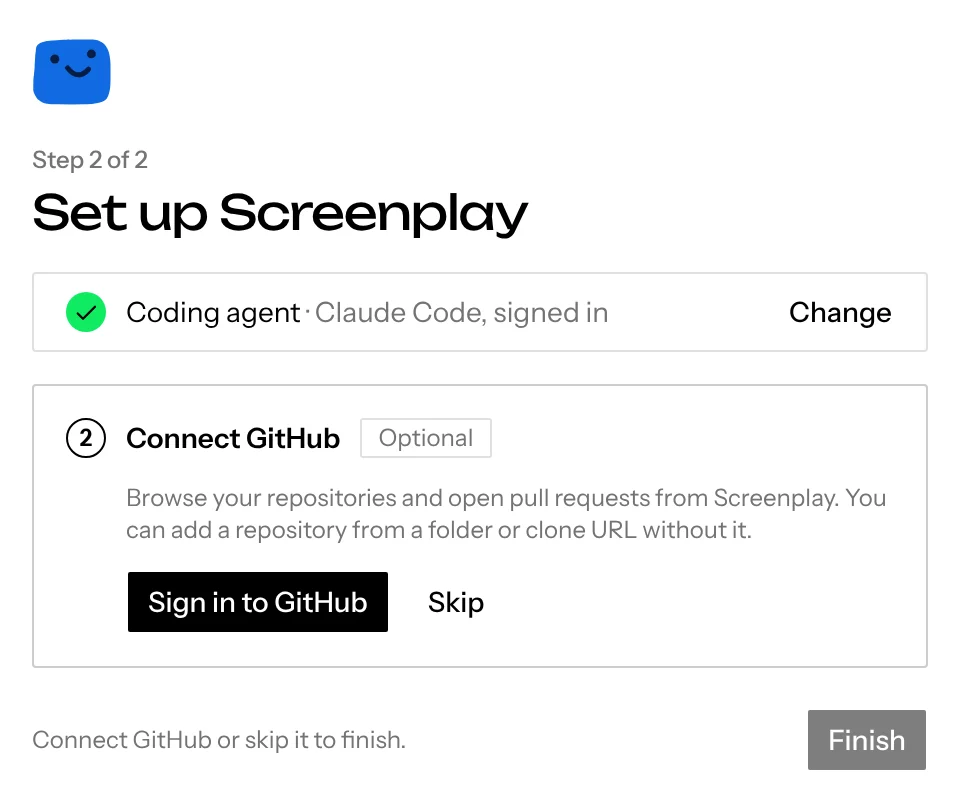
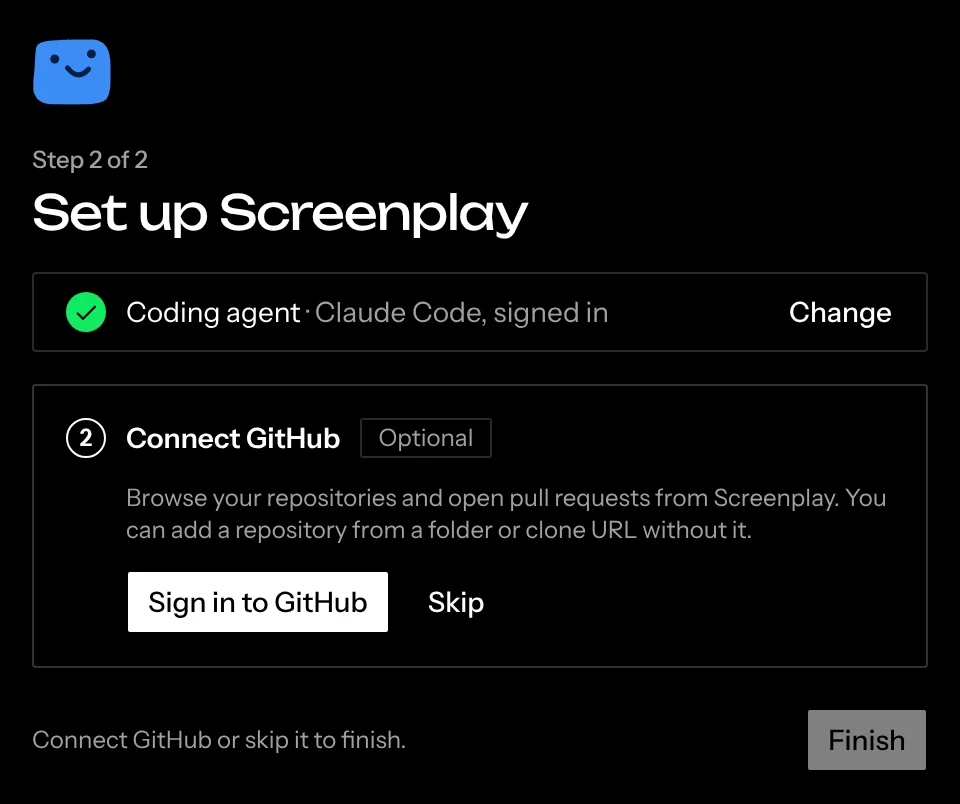
The first launch opens Set up Screenplay, which walks you through two steps:
- Install a coding agent. This one is required. Claude Code is preselected and marked Recommended; click Change to pick another CLI. Click Install CLI and sign in (or Sign in to CLI if it’s already installed). An inline terminal installs it and runs its own sign-in. Once it’s signed in, click Use CLI.
- Connect GitHub. This one is optional. It lets you browse your
repositories and open pull requests from Screenplay. Sign in to GitHub
uses the
ghCLI (Install GitHub CLI and connect if you don’t have it). Click Skip to add repositories by local folder or clone URL instead. You can connect later in Settings.
A finished step collapses to one row with Change. Finish enables itself as soon as both steps are settled. The page re-checks every couple of seconds, so there’s no need to reload.
Create a canvas
Finish creates your first canvas and opens it, with the agent panel open and a Get started checklist in the corner. Later, New canvas on the home screen (or N) creates and opens another one; rename it from its title. A canvas holds one piece of work: one or more repositories, their chats, and everything you lay out around them.
The checklist’s three steps, Add a repository, Ask the Coordinator for a change and Open the chat, are the next three steps on this page.
Add a repository
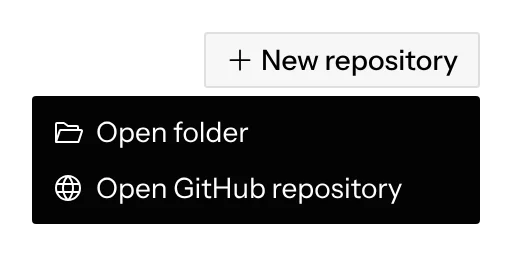
Click Add repository in the Get started checklist or on the empty canvas. It goes straight to choosing one:
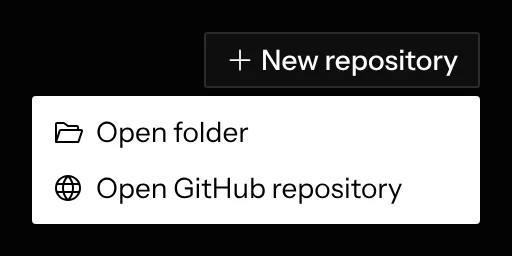
- Open folder adds a folder on disk, such as your existing clone.
- Open GitHub repository lets you pick a repository, or paste a clone URL.
Screenplay detects your setup and run scripts and shows them for review in Configure repository. The repository is saved to your repositories, so every other canvas lists it too. See Repositories for every field; you can change them later in Canvas settings. Add repository closes it all and leaves you on the canvas.
Adding a repository only adds it. Nothing starts until you ask for a change.
Ask the Coordinator for a change
The agent panel stays on the Coordinator, which asks what should change. Describe it:
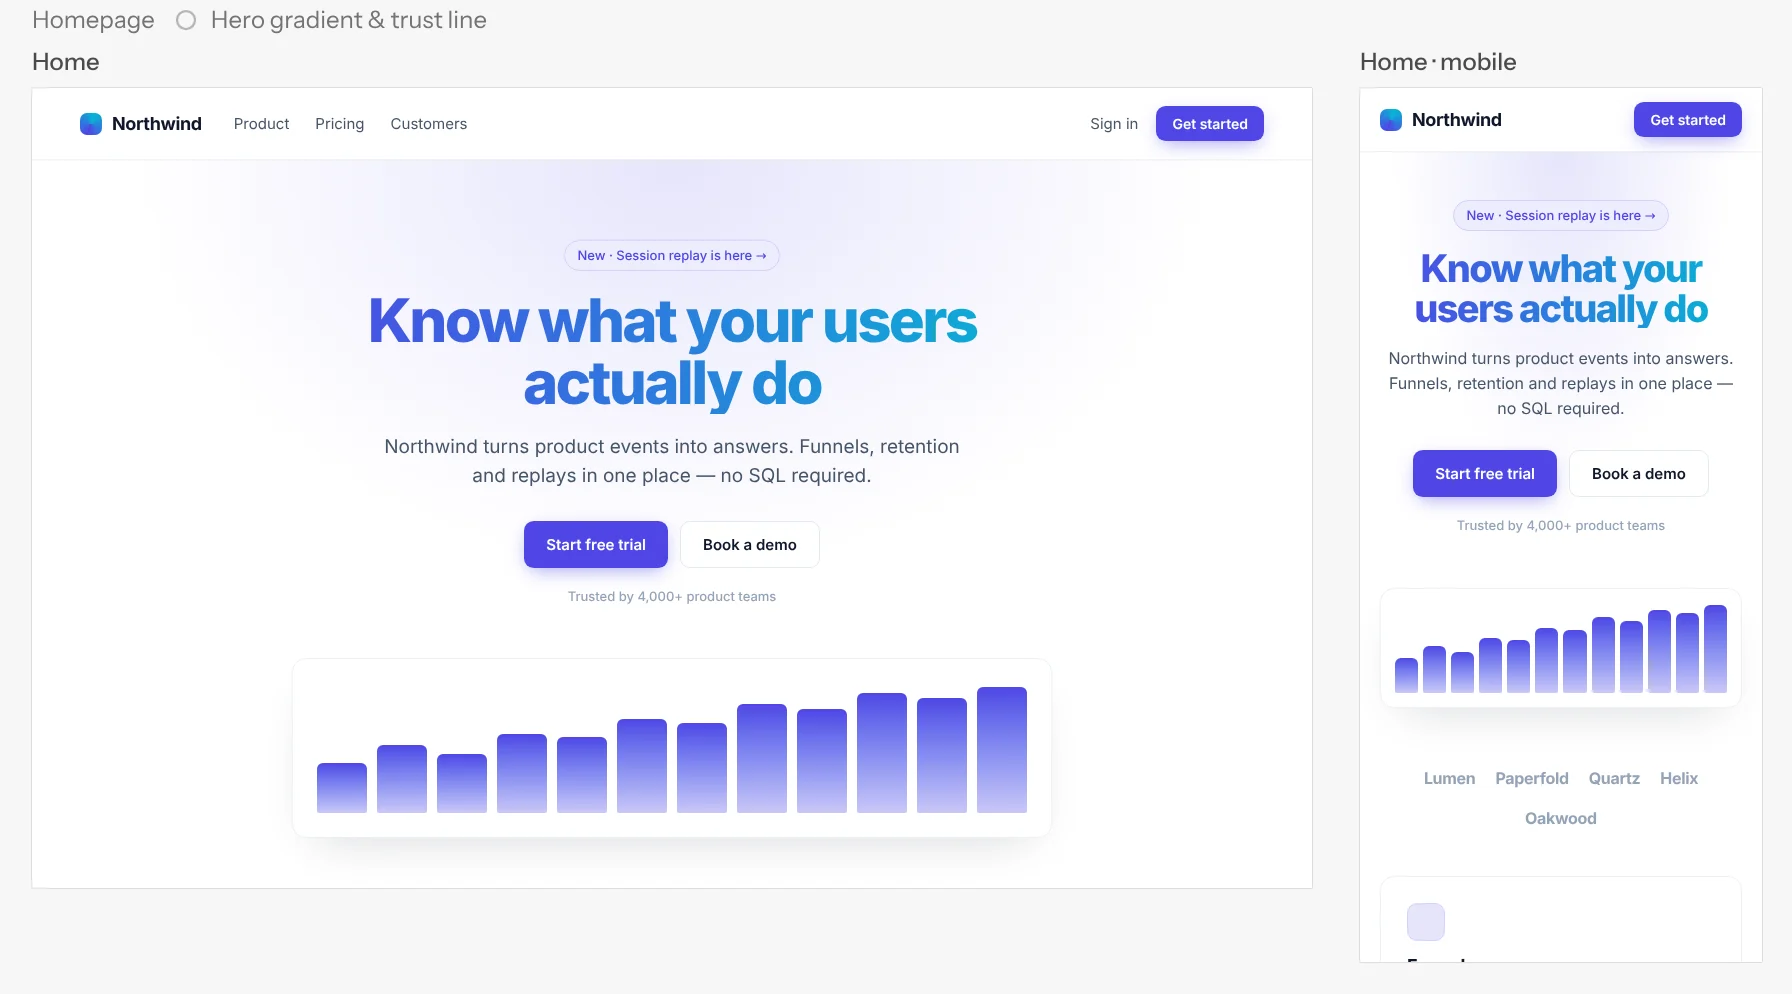
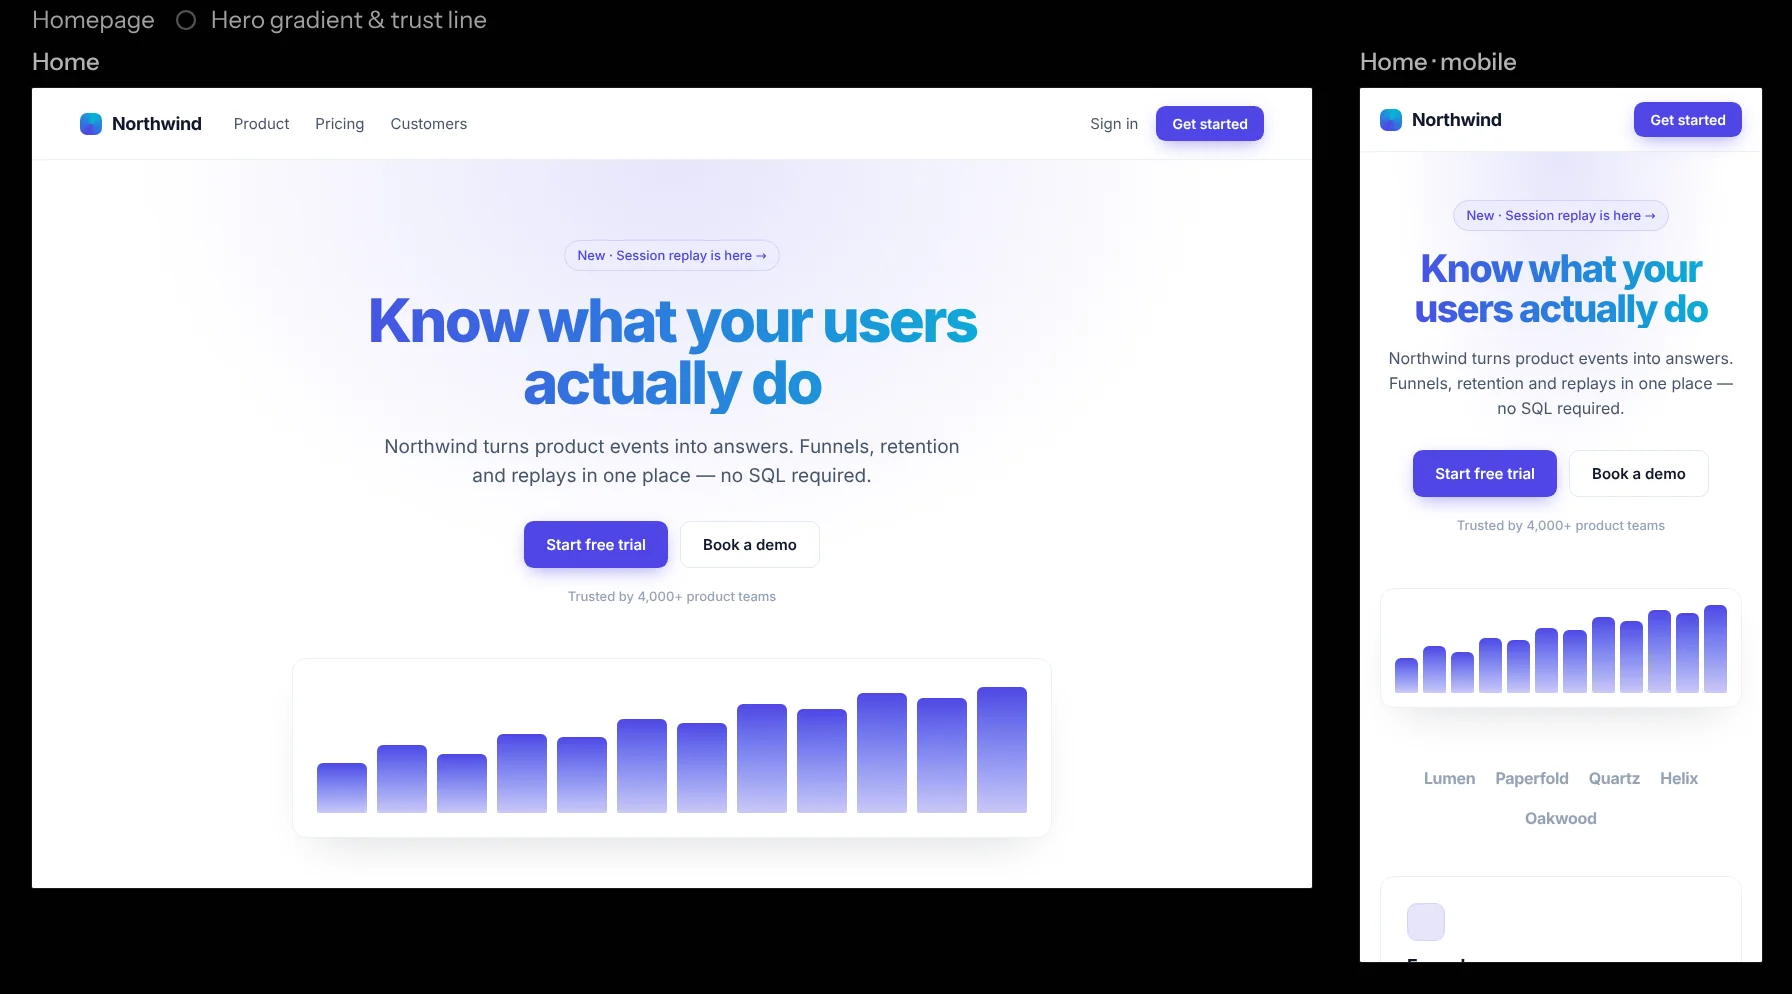
Make the hero headline use a gradient from the accent color to cyan, and add a small “Trusted by 4,000+ product teams” line under the buttons.
Your first ask starts your first chat, straight away, with no plan to approve: a fresh branch checked out in its own worktree, with its dev server running and a frame on the canvas showing it. The ask runs as soon as its app is up. The Coordinator shows it as a card, and the panel stays with the Coordinator so you can keep asking from one place while the frame updates.
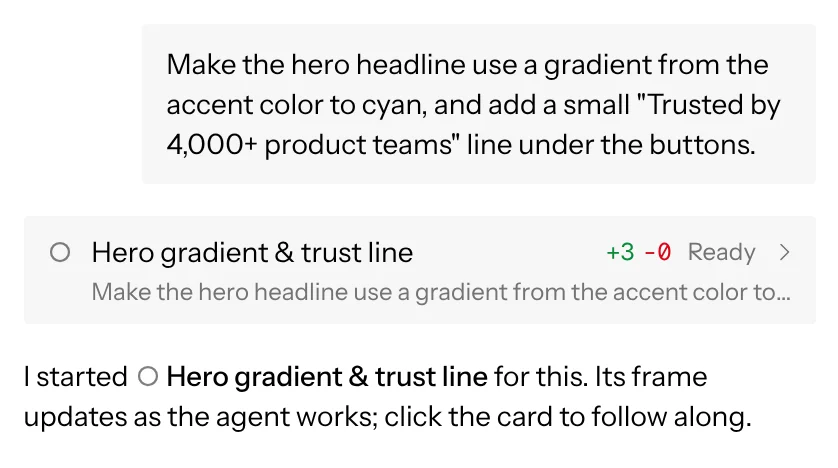
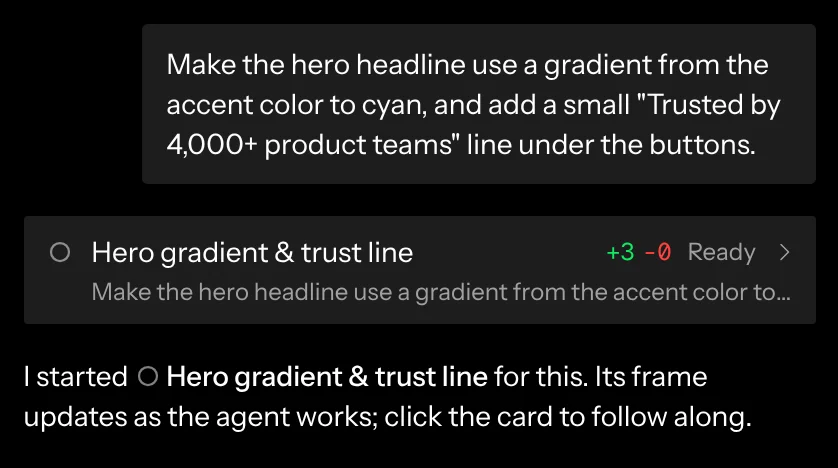
Click the card (or Open chat in the checklist) to follow the chat’s agent: it reads the code, edits it, and commits. Every tool call appears in its chat as it runs, and the preview hot-reloads the moment a file changes. Your first ask also gives the chat its title.
Next steps
- Add more frames (F) for other routes and device sizes.
- Start a second chat to try another direction in parallel.
- Turn on Plan in the composer to review the agent’s plan before it writes code.
- Use Create PR in the chat header when you’re happy with a chat’s work.
Screenplay doesn’t update itself yet. To get a newer version, download Screenplay.dmg again and replace the app in Applications. What changed in each version is on GitHub Releases.